BigCommerce is one of the leading online store builders, providing fully-functioning online shops for tens of thousands of sellers all over the world.
The platform is geared towards fast-growing, mid-market brands and has a slew of powerful features and tools just waiting to be tapped into.
Perhaps the biggest selling point of BigCommerce is its customisation opportunities. It basically allows you to do absolutely everything yourself, from uploading and organising products, to processing orders, putting out discount codes, and designing your store using a simple drag and drop interface.
Setting up your store from scratch and under your own steam might sound overwhelming, but BigCommerce makes it all surprisingly easy to get your head around. Not only that, but it can do wonders for your business, whether you’re a fledgling seller testing the waters or a brand that’s been selling online for years.
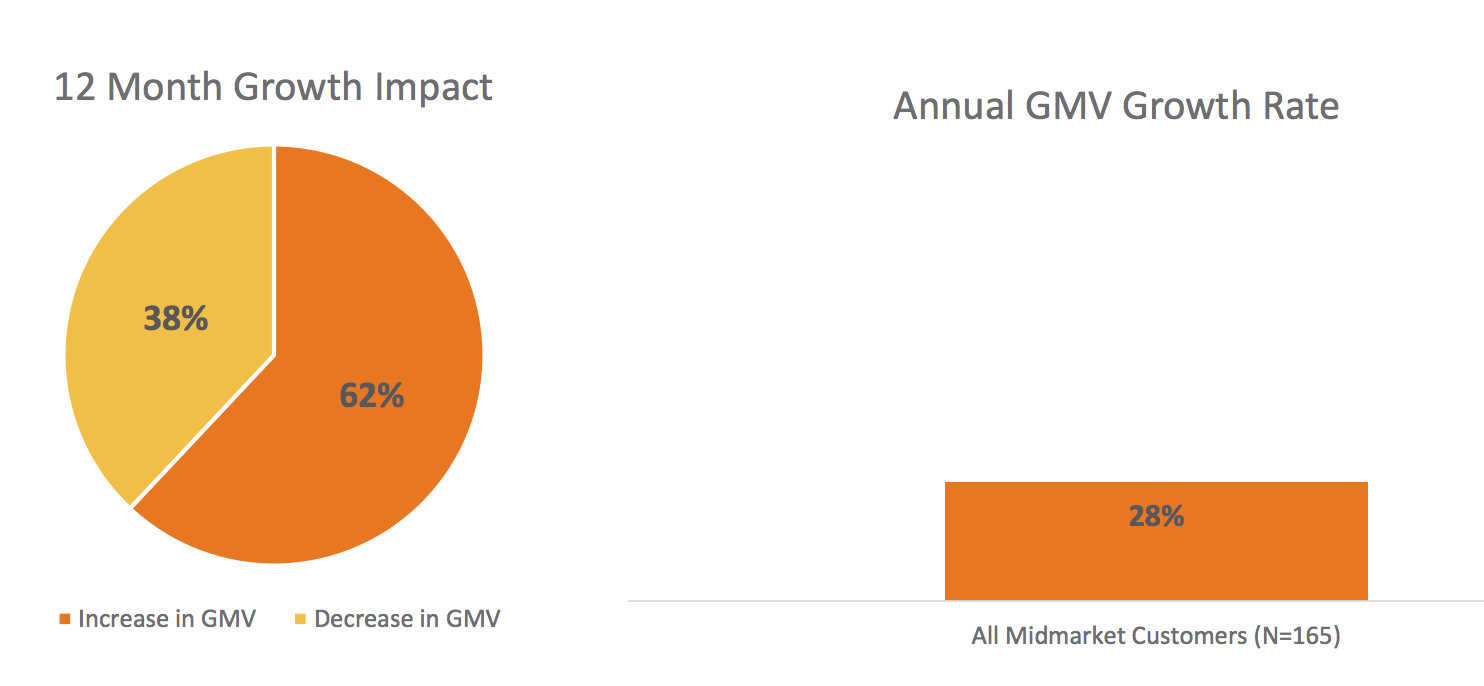
In fact, research by Ipsos shows that BigCommerce merchants grow at 28% year over year versus the e-commerce industry average of 14%.
If that’s piqued your interest, read on to find out how you can get your BigCommerce store up and running in no time at all.
Your Step By Step Guide to Setting Up a BigCommerce Store
1. Sign Up For a BigCommerce account
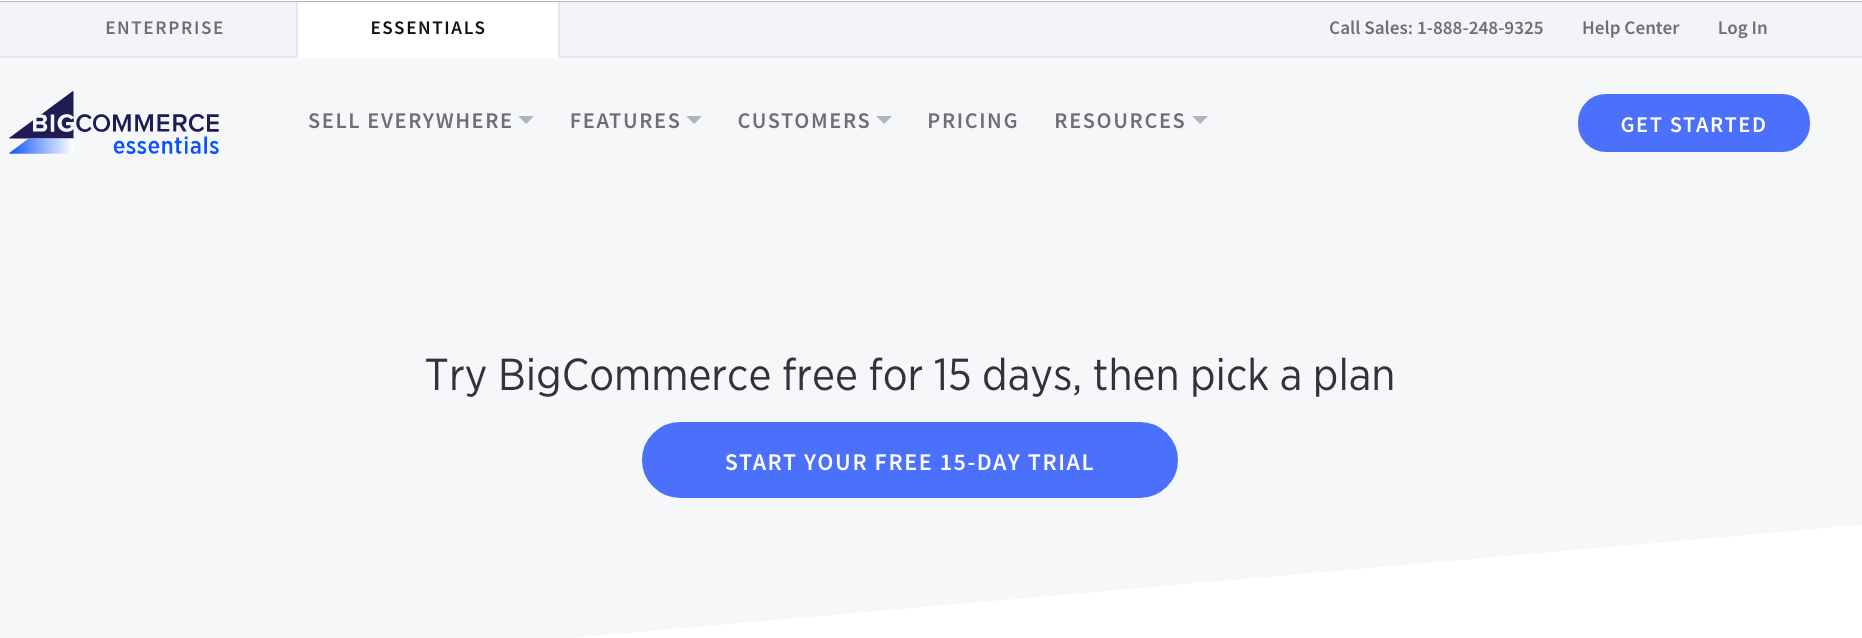
First things first, you’ve got to get yourself a BigCommerce account. The good news is you can get a 15-day free trial without having to hand over your credit card details.
All you have to do is click the “Start Your Free Trial” button or the “Get Started” button on this page - both will take you to the same sign up page.
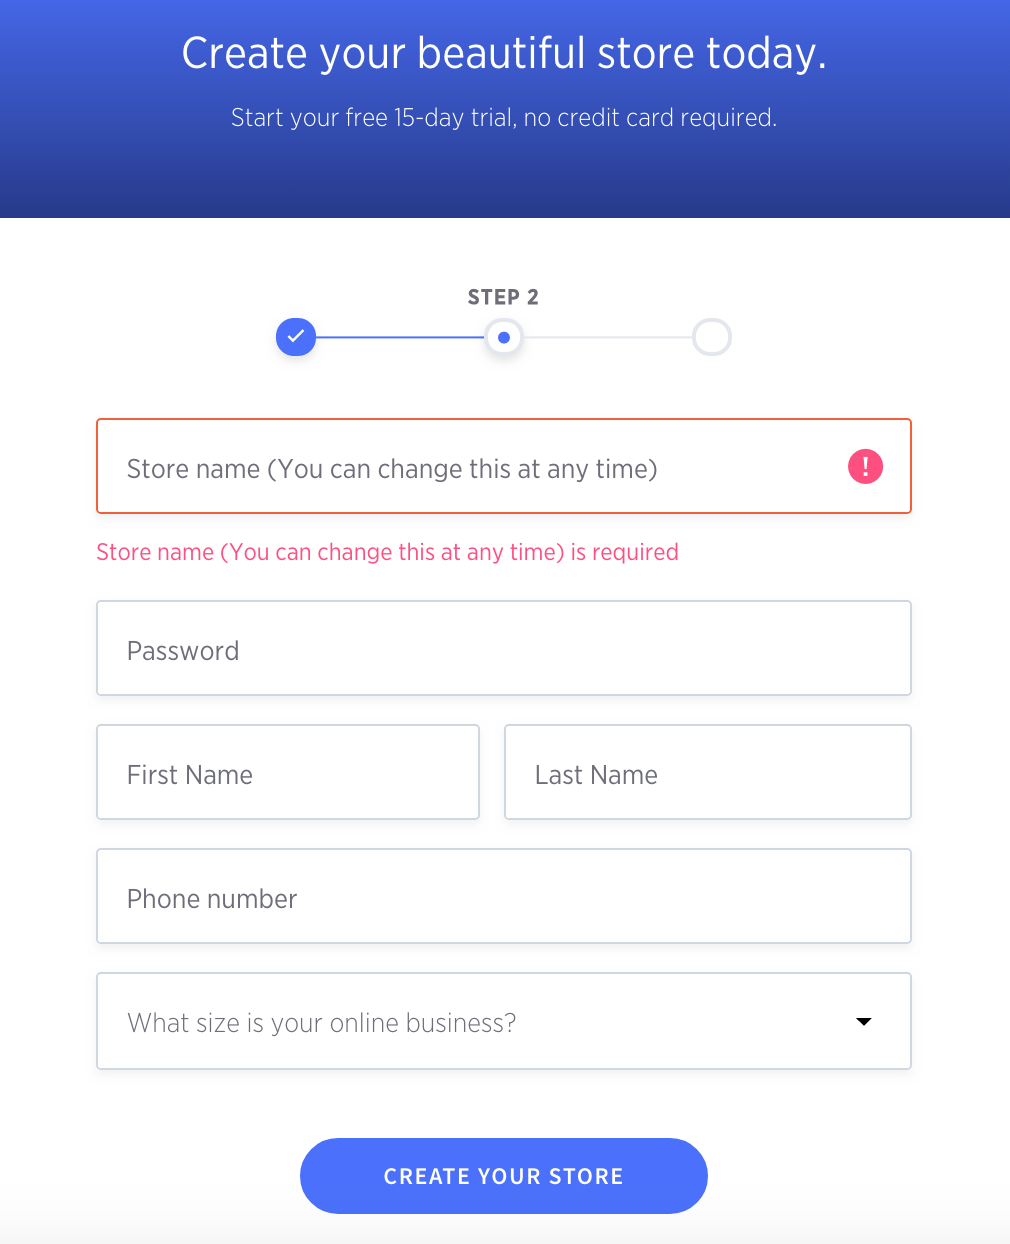
Once you’ve done this, you’ll be asked to enter a name for your store (you can always edit this at a later date if you’re not set in stone on one just yet) and then be taken to your new BigCommerce store dashboard.
At this point, you’ll be prompted to take a tour of the dashboard which will highlight what all the tabs are for and give you an overview of what can be done and where. It’s worth taking a few minutes to run through the tour, but you can always come back to it if you’d rather start finding your feet.
2. Create and Customise Your Store
The design of your store is a fundamental part of the business.
Research has proven that, in the digital world, it takes consumers 0.05 seconds to form a first impression of a website. That’s all well and good, but that first impression goes on to determine if a user continues to browse your site or leave it in a cloud of dust.
Further reports reveal that good site design is pivotal in establishing a sense of credibility around your brand, which is so important for an online shop where there is no face-to-face interaction.
On top of this, consumers today are used to excellent web design and sleek experiences, which means you have to make your store look good if you want to attract and keep buyers.
Most store builders have a selection of free and paid-for themes to choose from, and BigCommerce is no different.
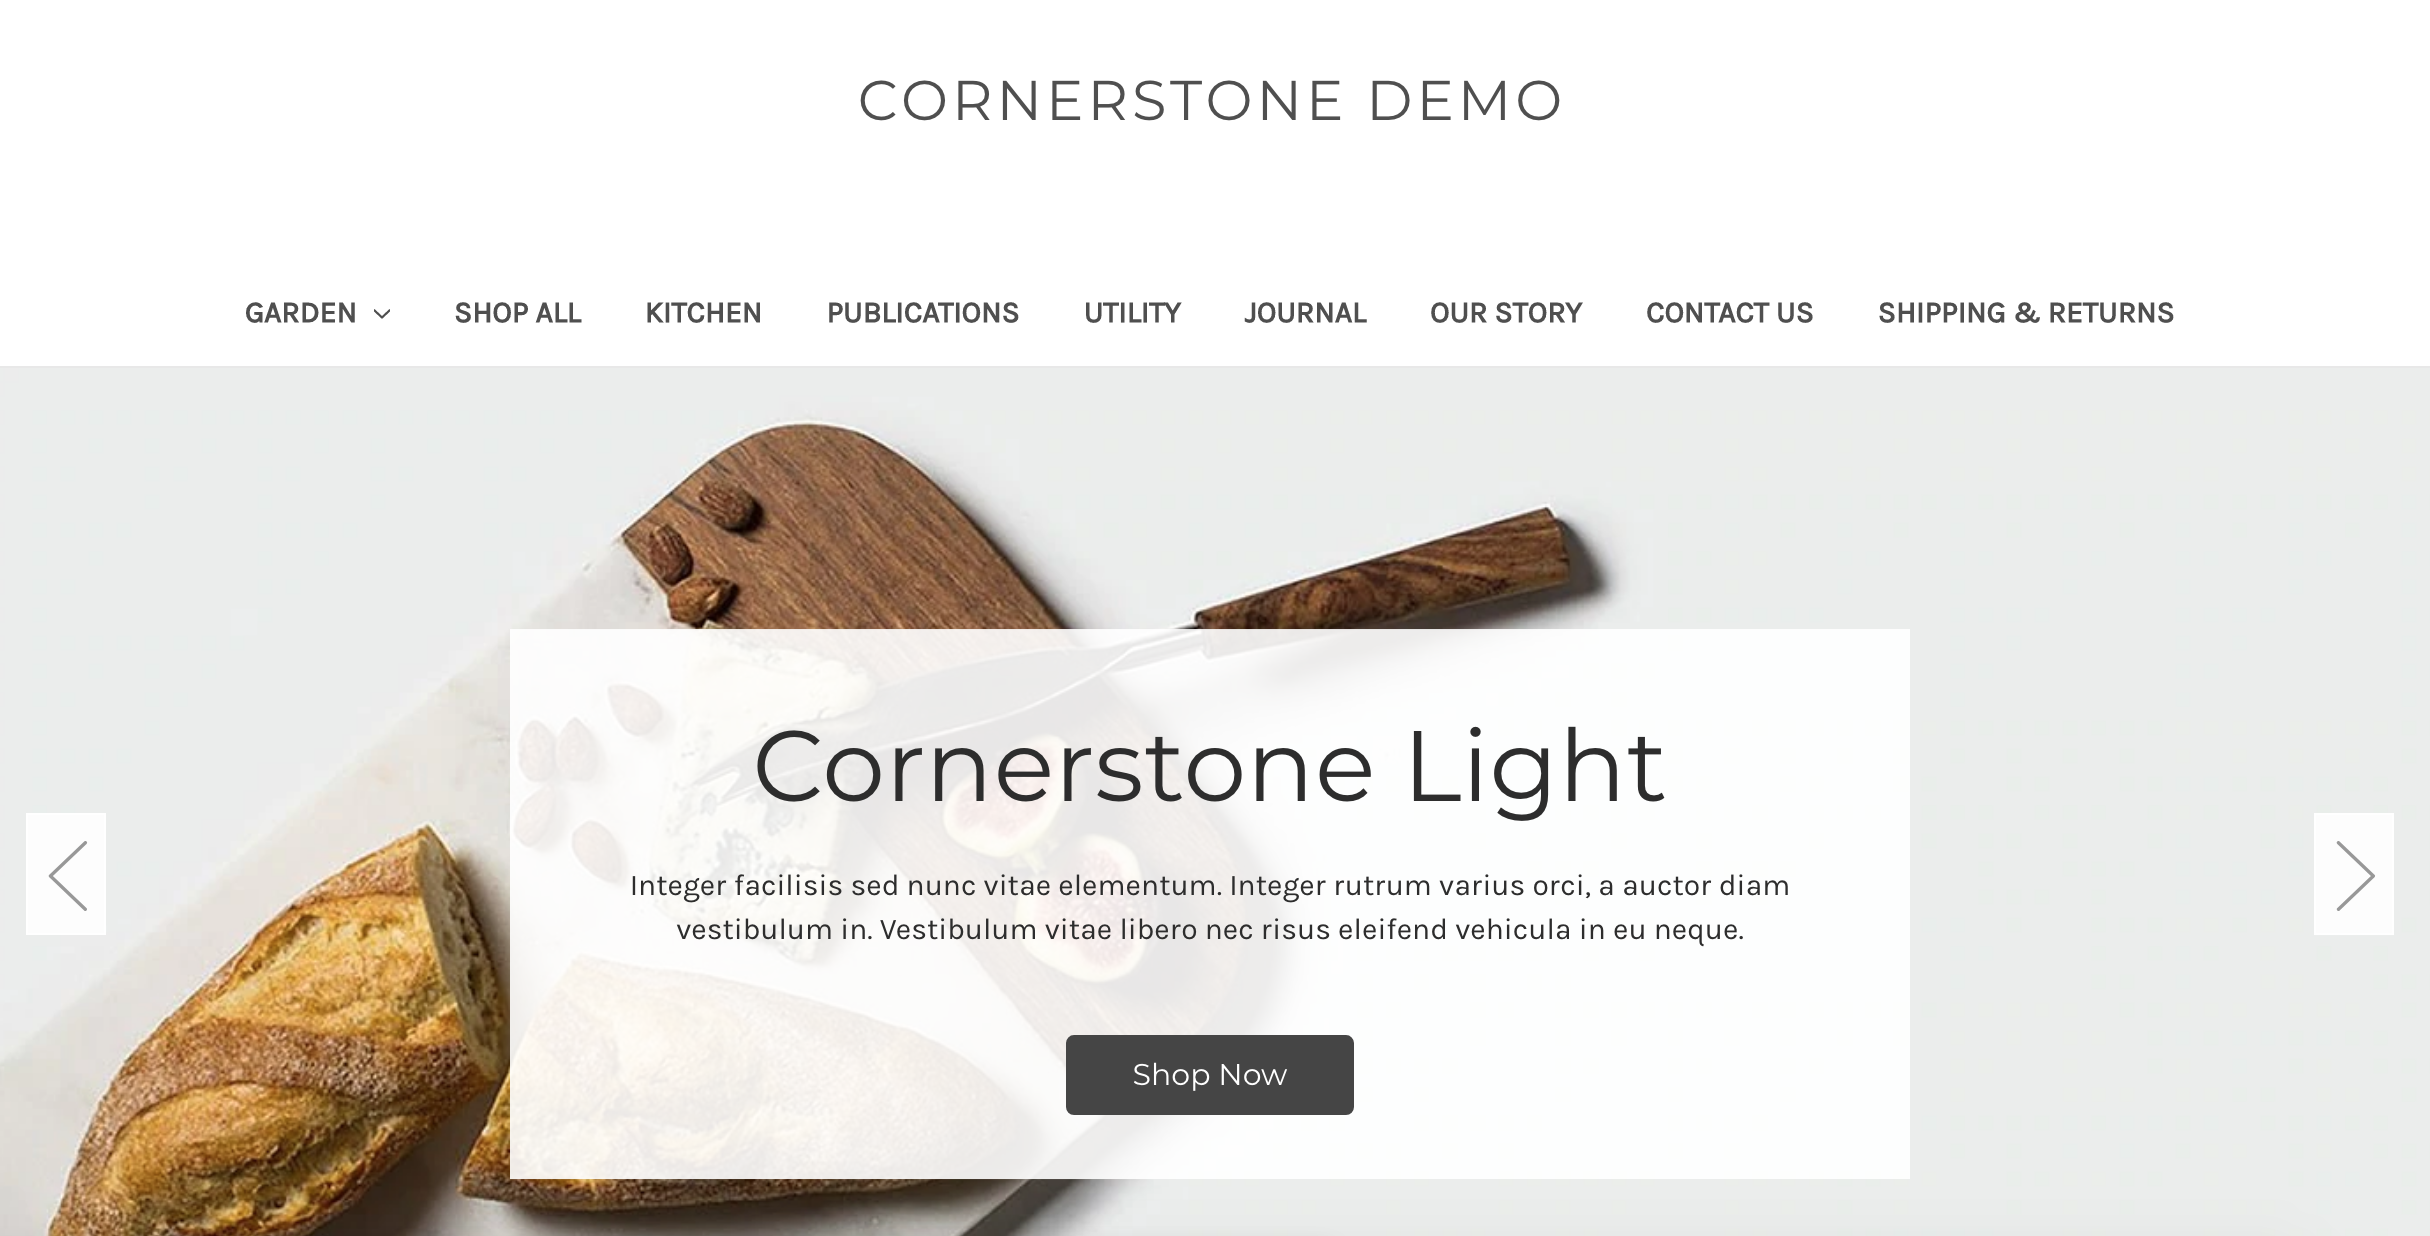
One of the free themes that BigCommerce offers.
While free themes are great for design newbies and those with very little internet skills, they can still be quite powerful in terms of imagery, colours, typefaces, and a limited array of customisable store elements.
However, there’s only so much you can do with one of BigCommerce’s free themes.
For example, you can’t add sidebars or homepage elements to give your store the look and feel you want. When you initially sign up for your account and create your store, BigCommerce automatically applies one of its two free themes.
If you want more options when it comes to designing your store, you’re going to want to opt for a paid theme that has more features. These can be bought through a one-off payment and usually costs between $170 and $295.
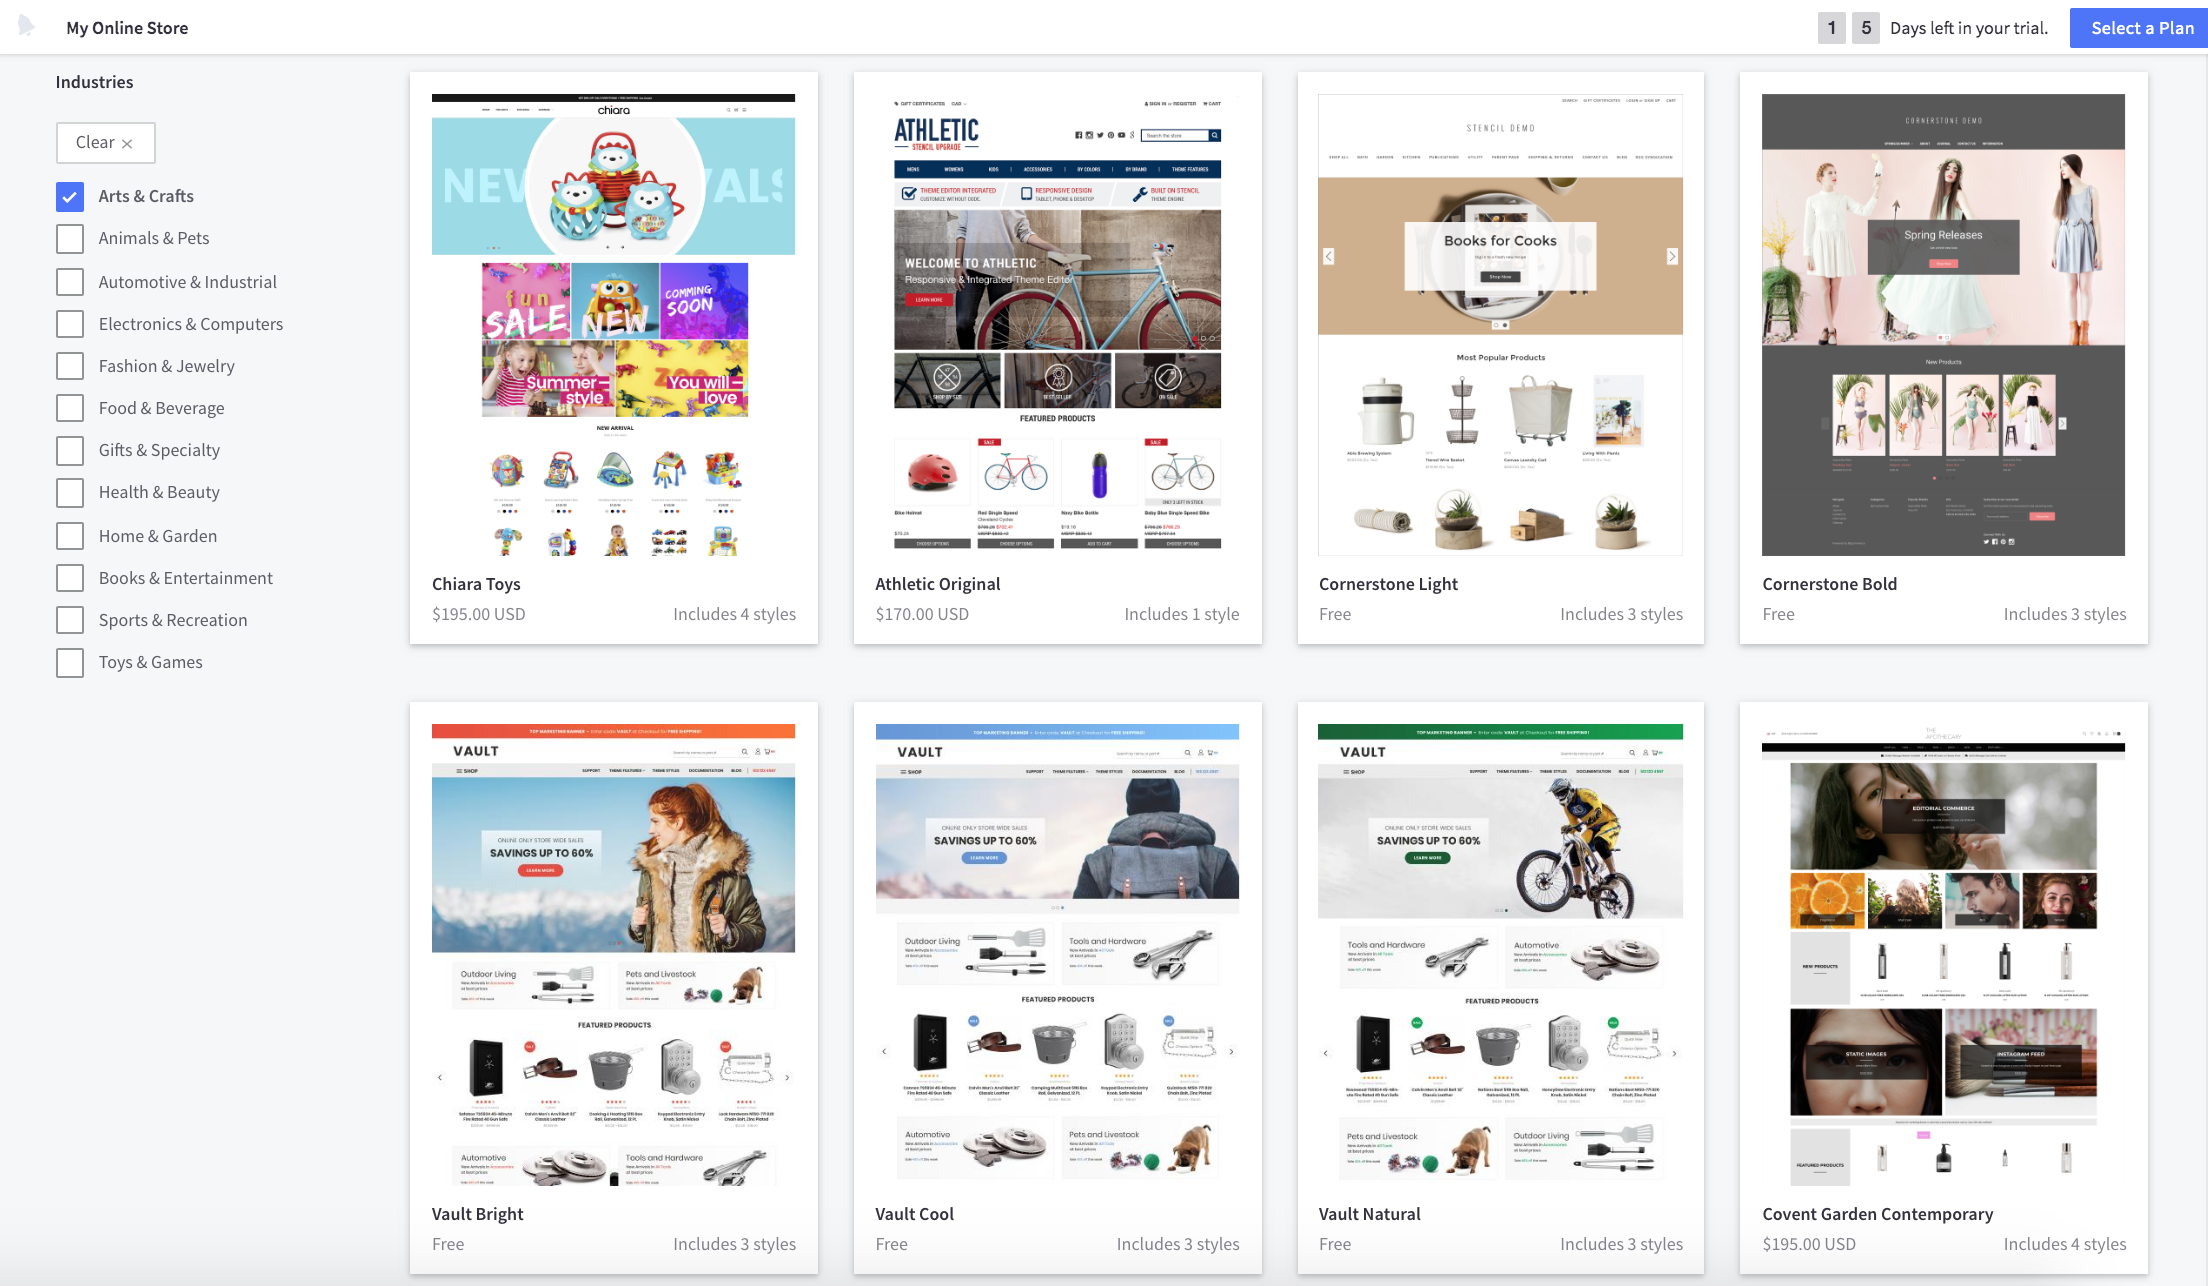
A sample of some of the BigCommerce paid-for themes
When you’ve chosen your theme, you can start customising it.
Click on the “Storefront” tab in your dashboard and then go to “My Themes” and click “Customise”. You’ll be served a selection of theme elements that you can change, including your store logo and the carousel images that appear on your homepage.
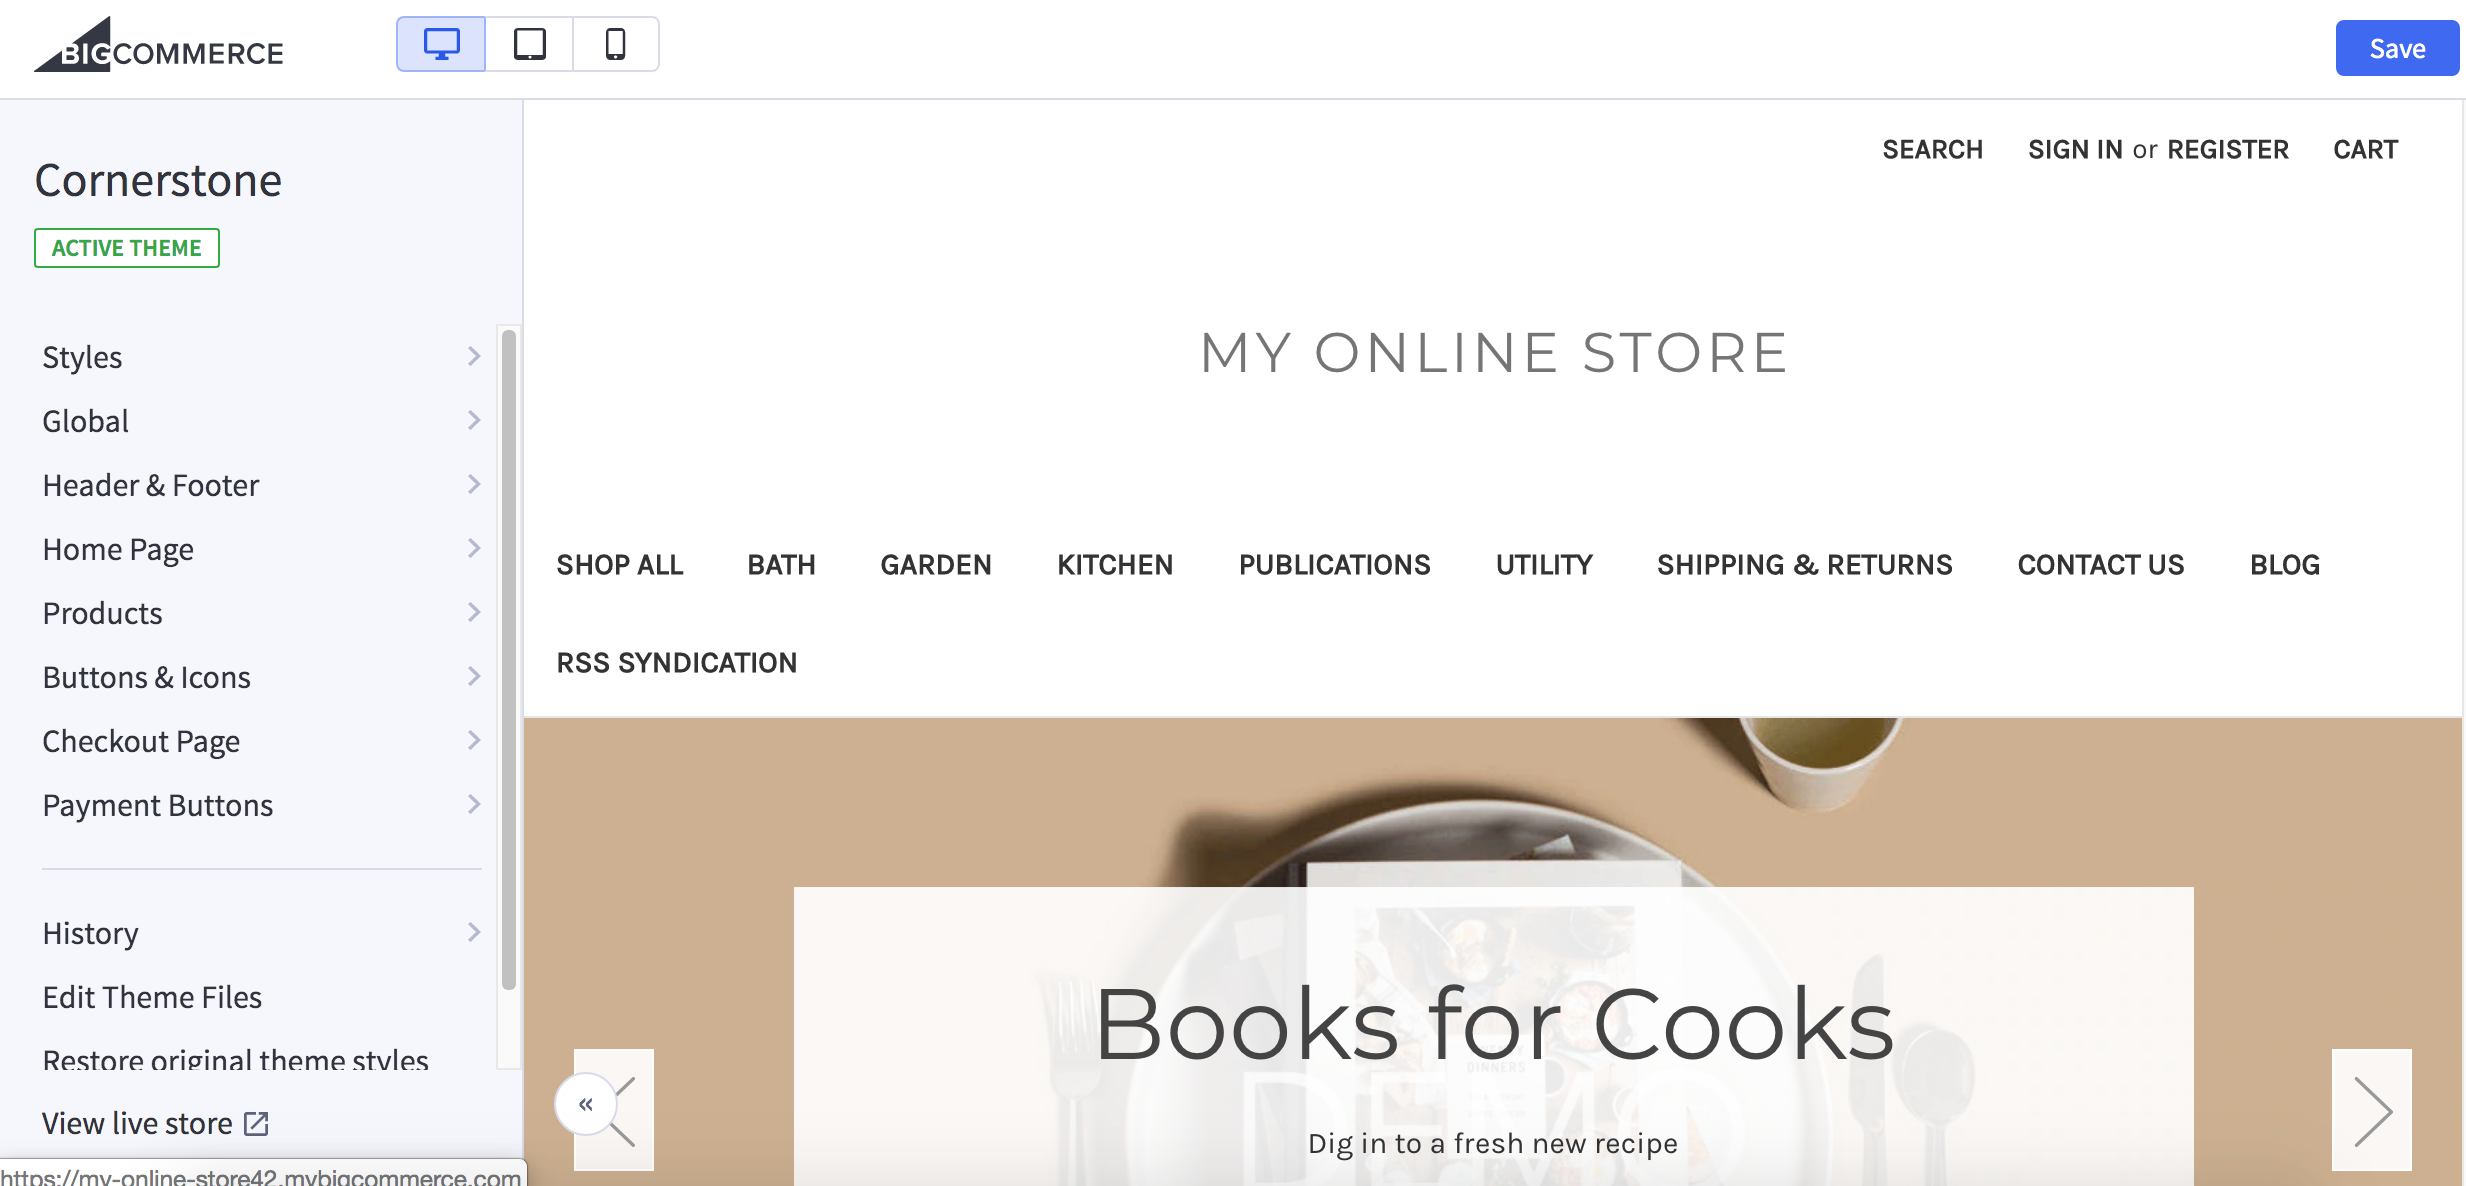
Let’s talk about these for a minute as they’re pretty important.
Think about it:
They’re the first thing visitors see when they land on your site, so you want them to be eye-catching, compelling, and convey what your shop is about all in one go.
If you don’t already have a set of attention-grabbing shots to put up or have no idea what kind of images to use, take a look at your competition or a couple of online stores you admire.
Check out the images they use - are they closeups? Thematic shots? Do they tell a story? Could you present your brand using similar images? What’s so good about them?
3. Populate Your Store With Products
Once you’ve got your store looking how you want it to, it’s time to start uploading your products.
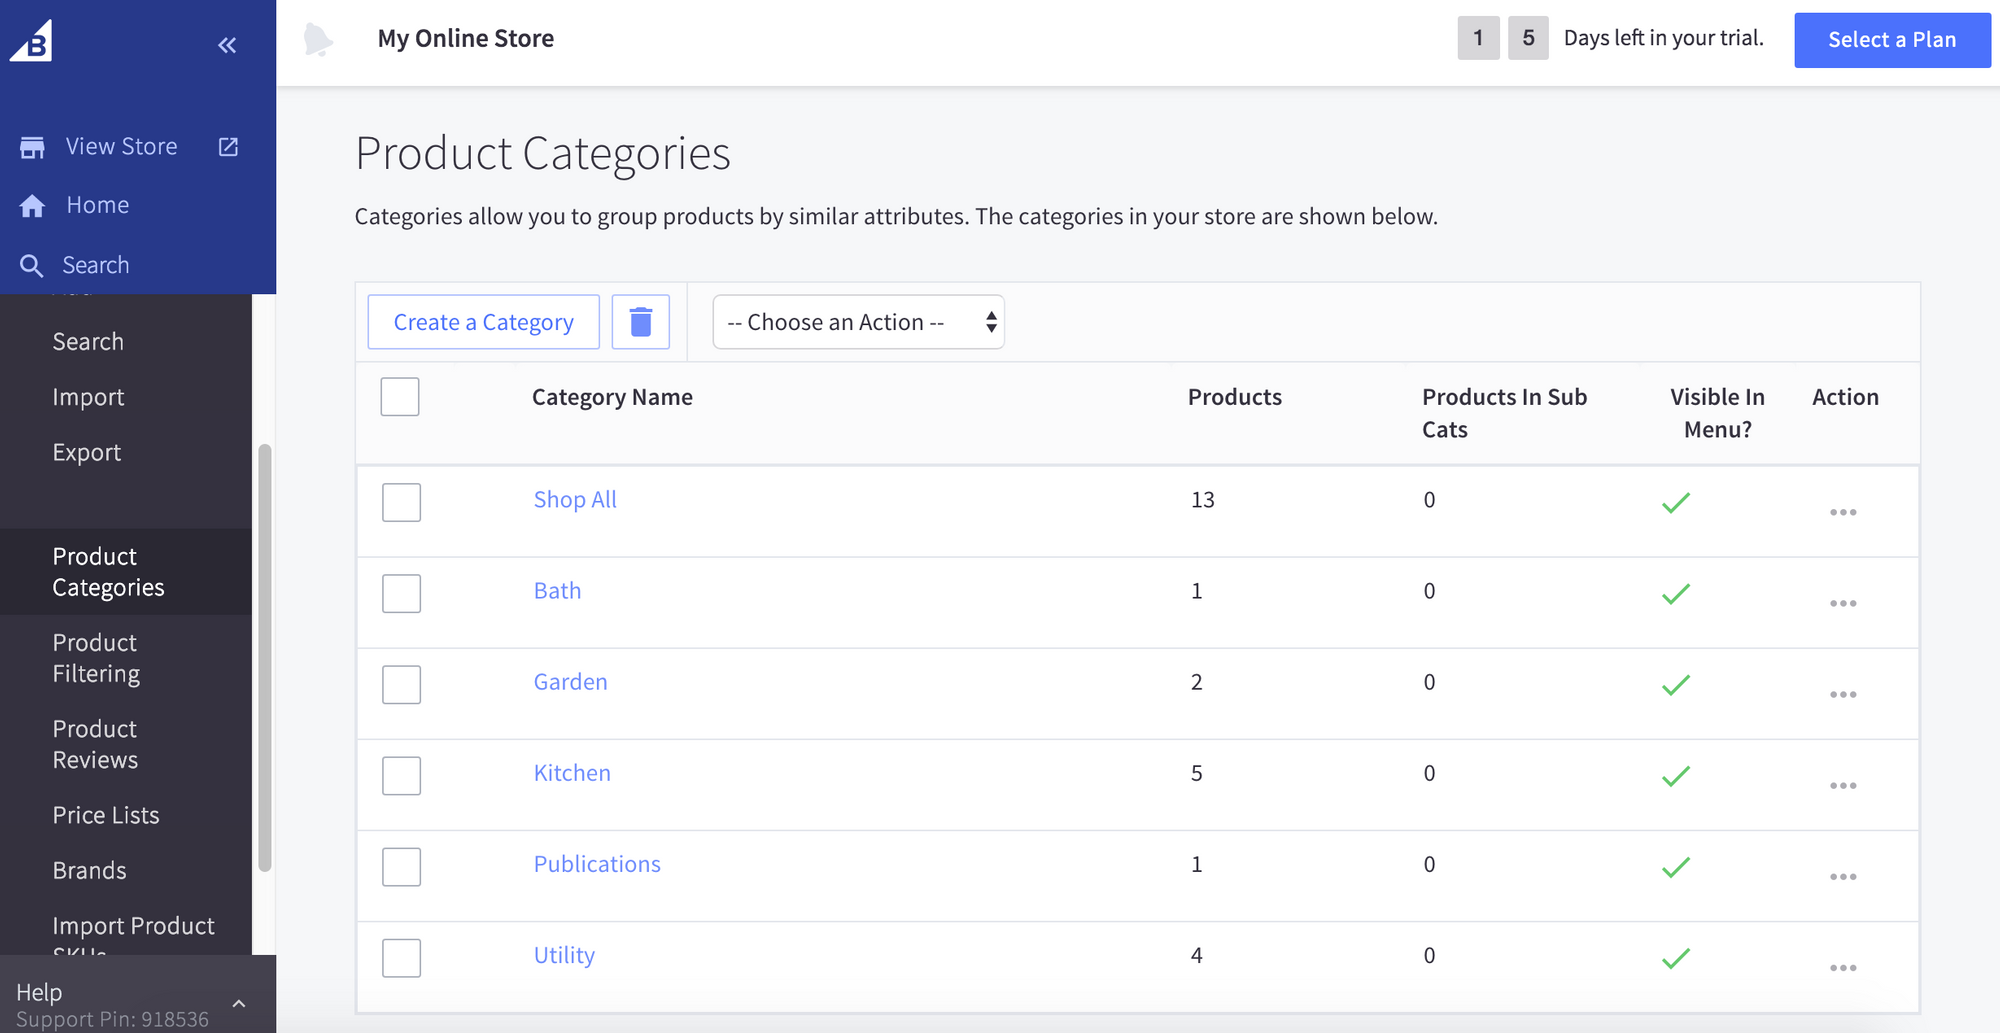
In the BigCommerce dashboard, it’s easier to set up and create your product categories before you start adding in your products. This means that, when you add each new product, you can select the right category for it immediately.
To create your categories, go to your Store Dashboard, click “Products”, and then go to “Product Categories”.
You might notice that there seems to be a ton of information boxes to be filled out for each product, but don’t worry too much - you don’t have to add everything in now.
There are, however, a few key elements that have to be added.
These include:
- Your product name
- The SKU or Product Number
- Price
- Inventory count (if applicable)
- At least one image of your product
- How much your product weighs (this is actually optional but can be really helpful for shipping labels)
- A description of your product
- Any variations in your product, like colour or size
BigCommerce actually has its own highly-detailed Product Entry Tutorial that gives you the lowdown on making sure your products are listed just right.
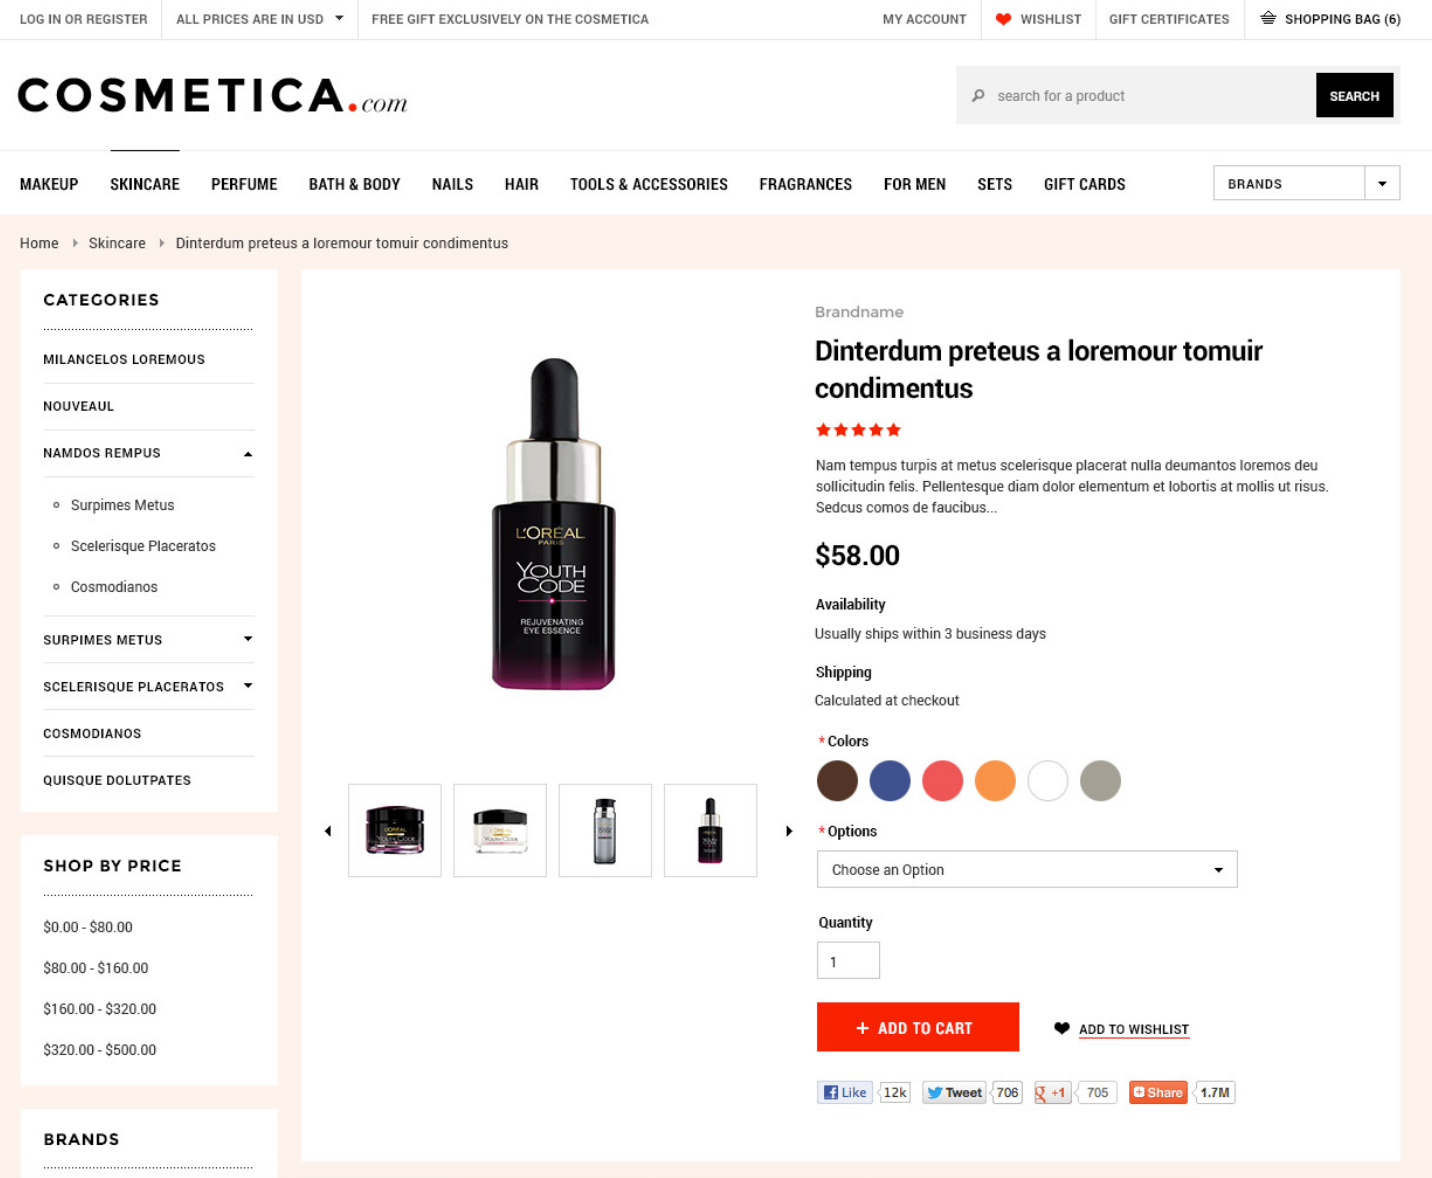
Keeping your product pages as clutter-free as possible is the way to go. Sleek, simple sales pages tend to perform a lot better than ones with fancy sidebars and tons of links to other pages.
4. Set Up Your Other Pages
At this point, you’ve got your store looking great and you’ve uploaded at least a few of your products - so what’s next?
Now it’s time to add a few more pages to your store to provide customers with the information they might need before they make a purchase. This will help solidify your brand and answer any objections or common questions potential buyers might have.
BigCommerce provides a selection of highly-customisable web pages that can be added to your store. All you have to do is drag and drop the information to make it relevant for your shop.
Check out BigCommerce’s Web Pages Tutorial for a really detailed guide.
There are four key pages you need for your online store besides your homepage and your product pages. They are:
- An “About Us” page that shares your story with shoppers and describes your brand
- A “Contact Us” page where customers can find out how to get in touch with you
- A “Shipping and Returns” page that highlights shipping options, shipping rates, expected delivery times, and refund policies and instructions.
- A “Privacy Policy” that outlines how you collect and use customer data
To create these pages, go to the “Web Pages” section of your dashboard which can be reached via the “Storefront” tab.
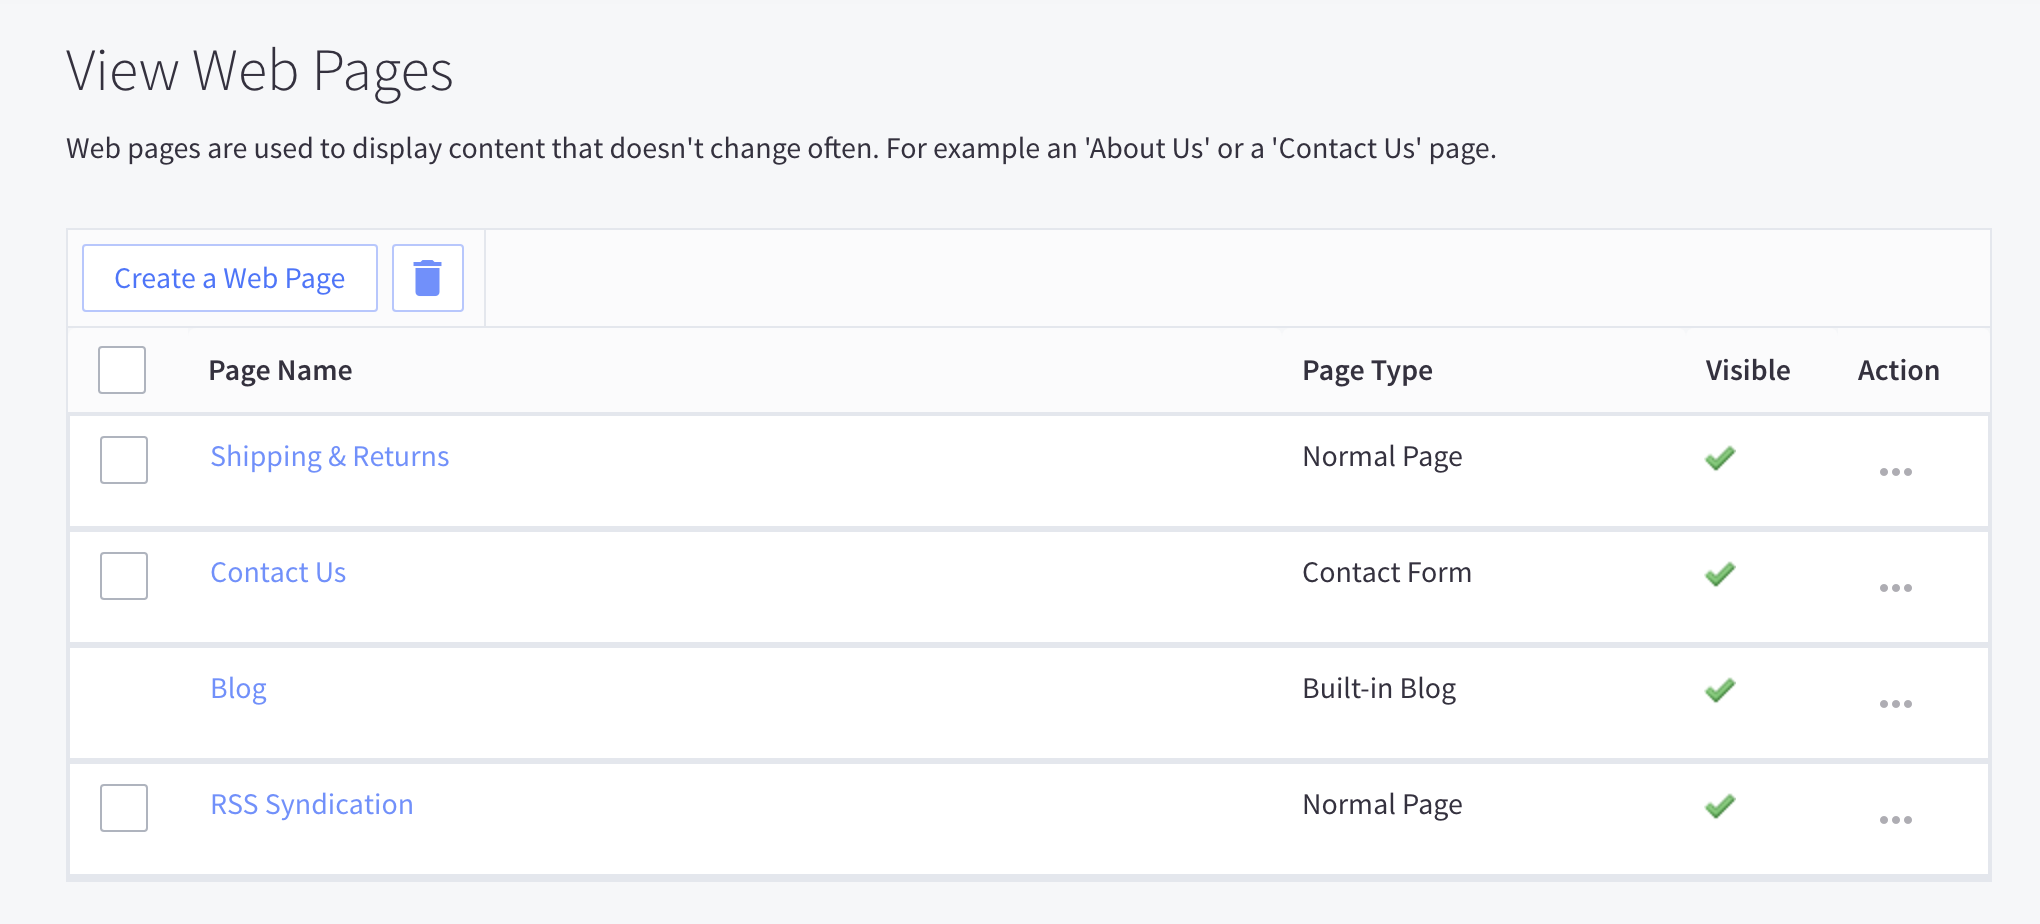
You’ll notice that BigCommerce automatically creates a Shipping and Returns page and a Contact Us page. All you have to do with these is edit the existing copy and layout to better suit your needs.
For the About Us page and your Privacy Policy, you’ll have to add new pages.
5. Sort Out Shipping and Payments
It’s safe to say shipping is an incredibly important part of the online shopping process, and it’s up to you to decide how you want your products to be shipped to your customers.
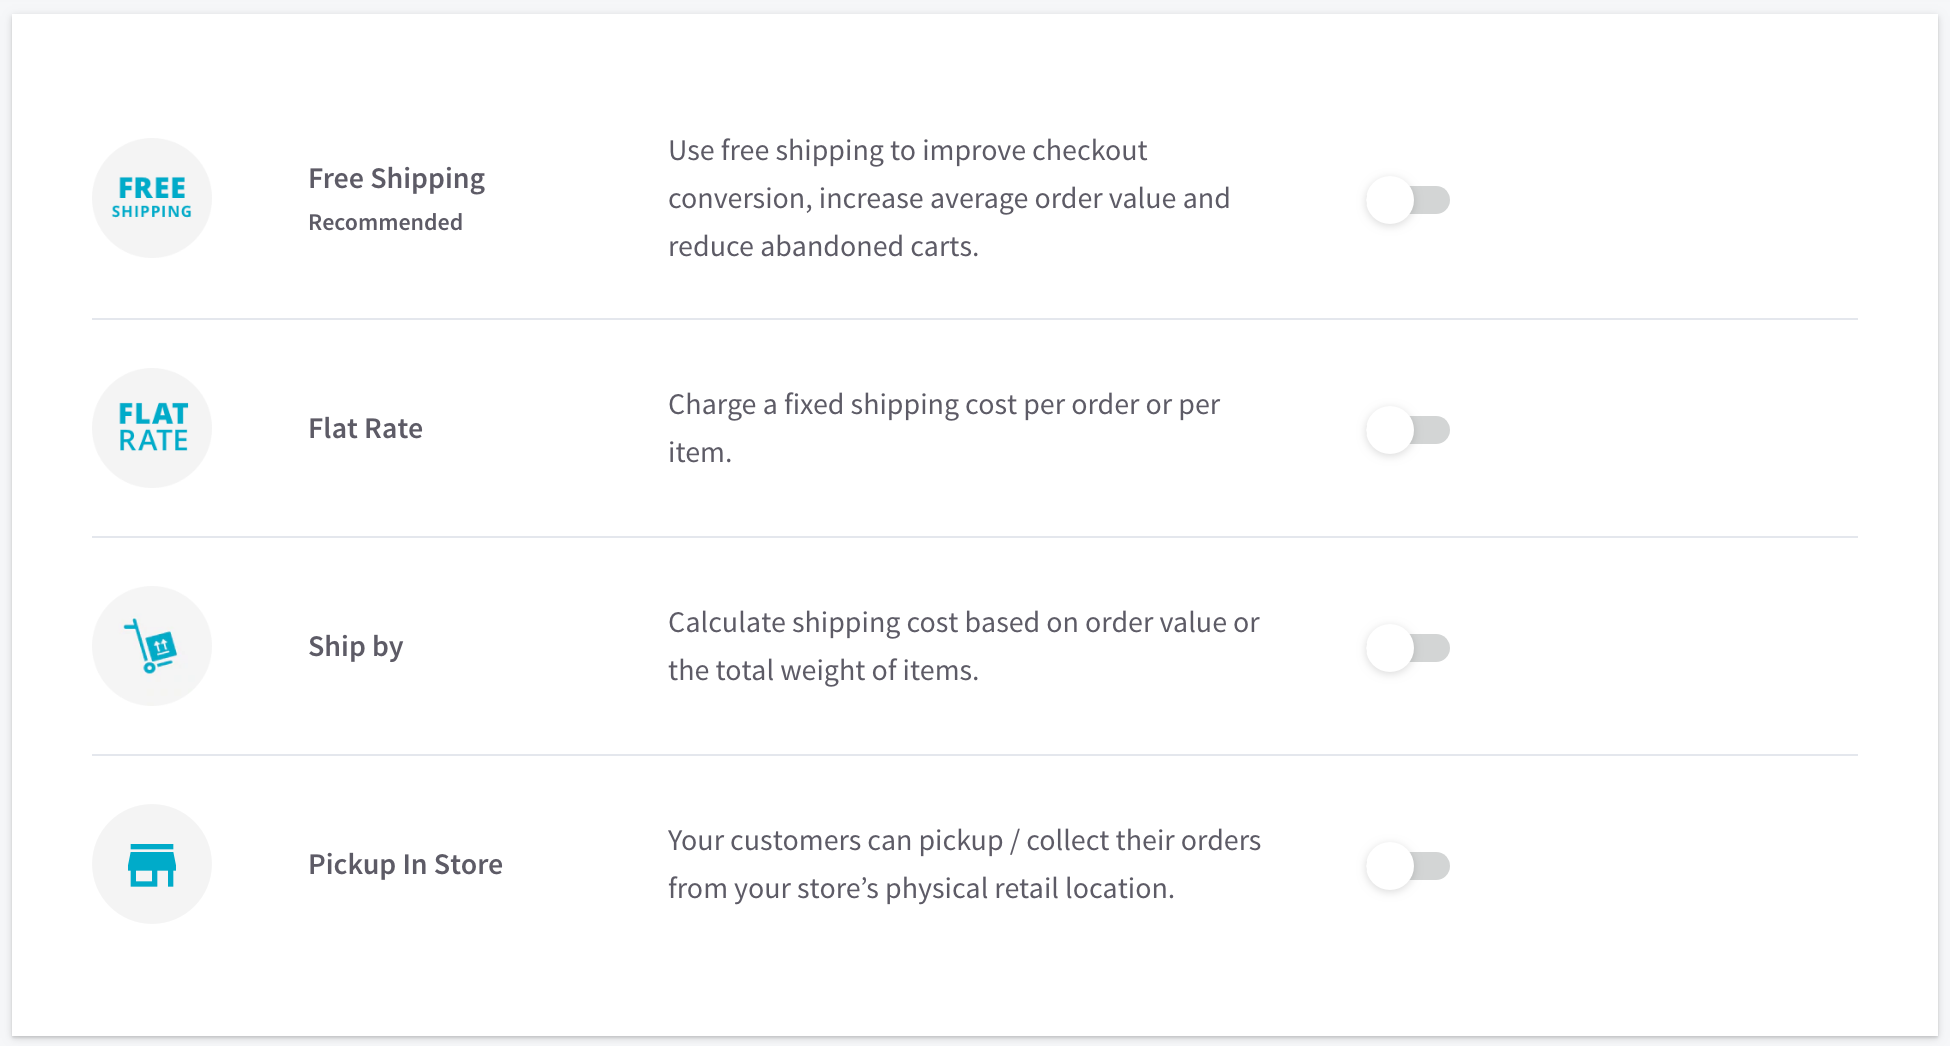
Let's look at shipping integration with BigCommerce.
BigCommerce has a Shipping Manager section under the “Store Setup” tab that provides you with countless shipping options. Start by running through the tutorial there to get an idea for the options you have and which ones might be best for you.
If your shipping needs are simple, this part of the setup is pretty straightforward. However, BigCommerce also integrates with third-party shipping services through the App Store. Apps such as Shiptheory make printing shipping labels and creating manifests for hundreds of carriers such as Royal Mail, FedEx, UPS, DPD, Parcelforce and more to as simple as possible.
Payments are also important and, again, BigCommerce provides its sellers with a slew of options.
If you’re not already using a payment provider like PayPal or Stripe, you can use the in-built BigCommerce processor that is automatically set up. The fees for this tend to be higher than other providers, but that’s often counteracted by the ease of using the in-built service.
It’s worth remembering that you can change any of these options later down the line so don’t paralyse yourself trying to choose the right one.
Moving Forwards
With your payment process and shipping system in place, your BigCommerce store is ready to go. Just by following these simple steps, you can have a fully navigable, fully functioning website up in no time at all.
Of course, the process we’ve laid out here is the bare basics and there is a whole host of features we haven’t mentioned here. Once you’ve got the hang of the BigCommerce dashboard, you can start playing around with the other tools on offer to customise your store even further.
There’s always room for improvement, particularly when it comes to search rankings and optimising your store for the best results. However, you’ve gone from having no store at all to a working online shop in just a matter of hours - that’s not bad going.
Sign up for a Shiptheory account today to find out how you can level up your shipping game with our smarter shipping software.